

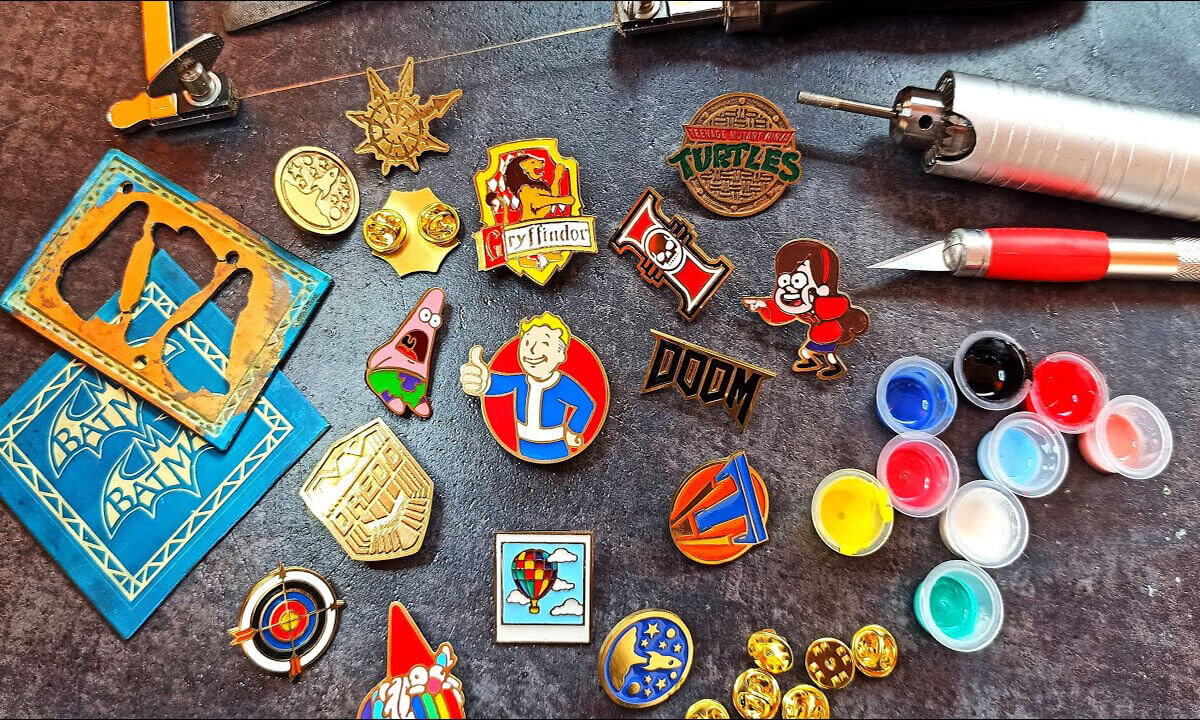
Collecting enamel pins can be an expensive hobby, customizing enamel pins is even more so. Minimum batch orders and start-up costs make using the factory for personal projects prohibitive. So are there alternatives? Of course, after research and discussion, we developed a process for DIY enamel pins at home. Please continue reading this guide for more information.
1. Tools and materials required
With a little precision and patience, you can make these pins yourself in the comfort of your own home. The best part is that you can control the number of pins and their respective designs any way you want. let’s start.
- sheet metal
- adhesive backed vinyl
- metal forming machine
- rotating cutting wheel
- grinder
- document
- variable power supply
- enamel paint
- welding
- small torch
- Polish
(Another related product guide: Enamel Pin Backs: All You Need to Know)
2. Steps to DIY enamel pins at home
Here are the steps for making an enamel pin.
1) 1st step: Design
Using a whiteboard is a great way to outline an enamel pin design. The high contrast helps me notice what is metal and what is enamel in the final product. It also maintains the simplicity of the design, which is important for the manufacturing process, and also makes the pins more visually readable.
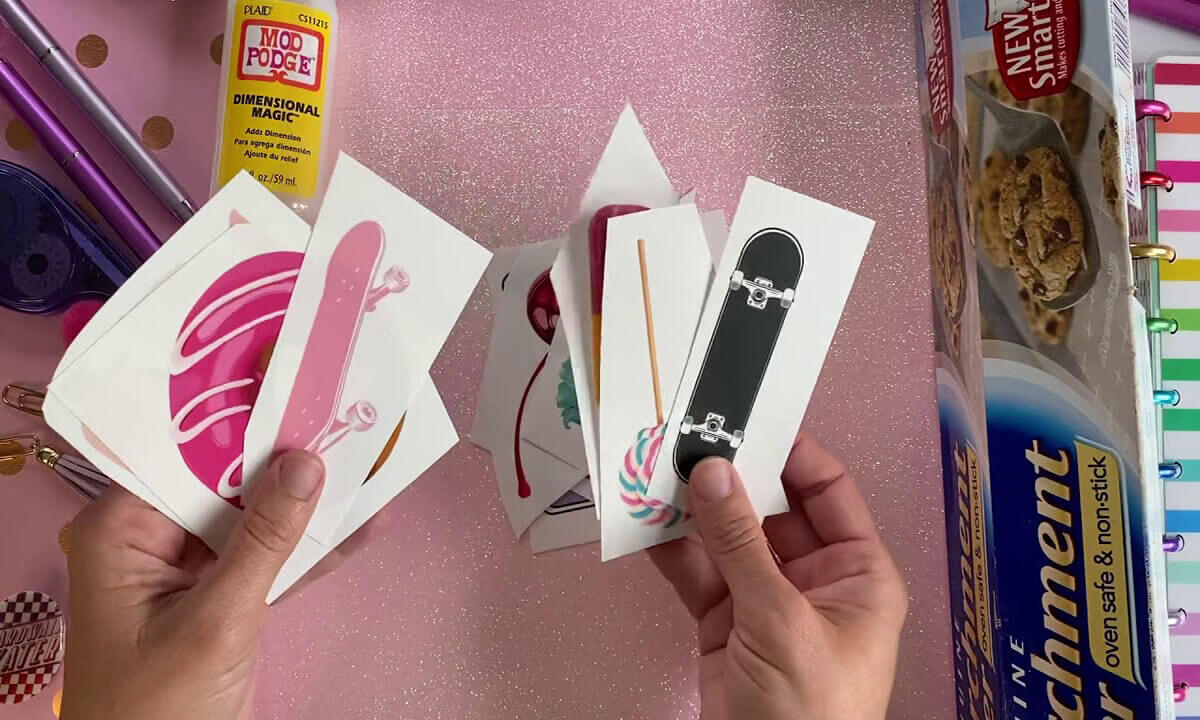
If you don’t have an image you want to use yet, you can view graphic designers selling a variety of images and designs that you can purchase and download instantly. Just search for “clip art” in the search bar, then add the type of image you’re looking for, such as “flamingo,” “popsicle,” or “pineapple,” and you’ll get a ton of options to choose from.
Resize image: Resize the image to your desired target size. For example, if you want pins that are approximately 1×1 inches, your image will need to be approximately 3x 3 inches. During the adjustment process, the film will not shrink the image perfectly on a one-to-one ratio. Some distortion occurs, especially noticeable with round objects (such as circular logos, etc.). I highly recommend you avoid using circles as they end up looking more like eggs than circles.
After many experiments, the only way to avoid this was to deliberately distort the image before printing so that when it was scaled down, it looked more like a circle than an egg (in the circle example above). Changing the orientation of objects on the paper may help with some designs, but not all…it just distorts the image in a different way.
Overall, I recommend choosing images with organic lines and avoiding technical images with perfectly straight lines. For example…an image of a skyscraper with technical straight lines would not be a good choice…but a hand-drawn cartoon image with natural, organic, non-straight lines would be a great choice.
2) Step 2: Adhere it to the vinyl
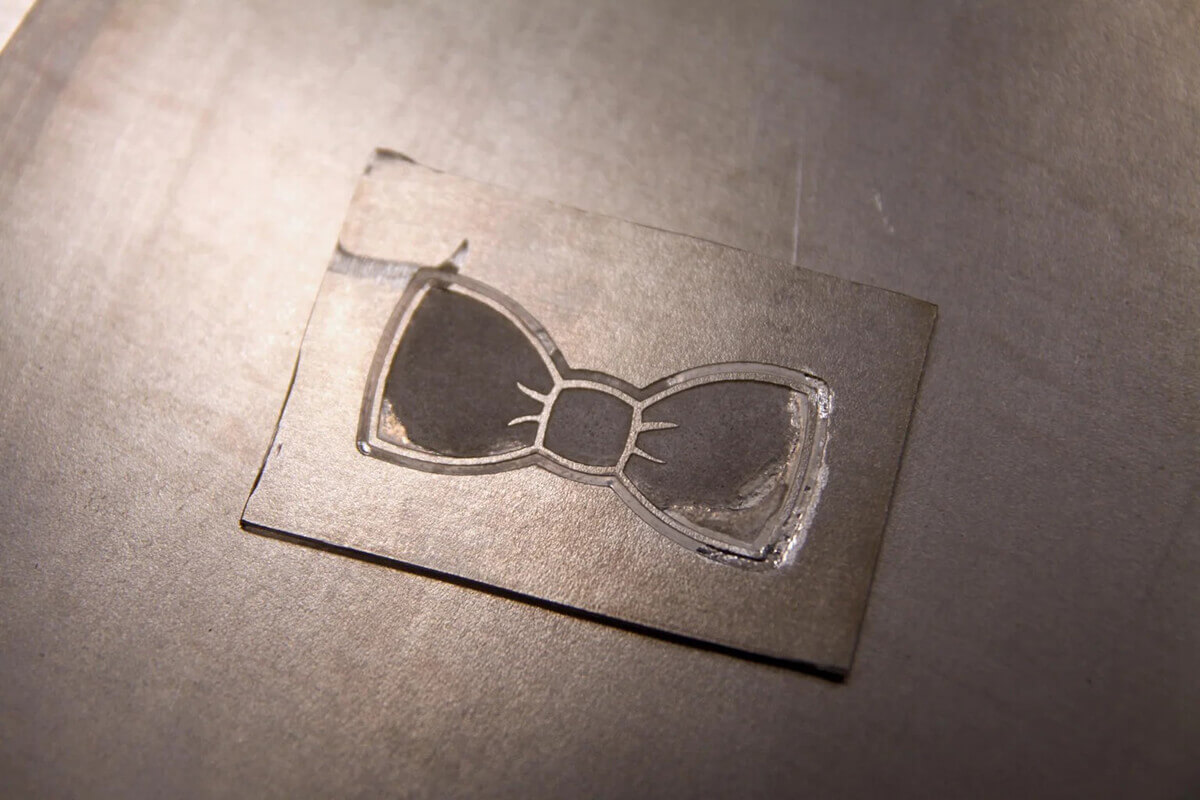
Vinyl masks typically begin by hand by cutting out the design with a scalpel. But then we discovered that by using a cutting machine, we could achieve faster, more consistent production. No matter how you do it, remove the parts of the vinyl you want to etch. Leave an extra inch of vinyl edge around the design. You can add additional etched profiles to all pin designs so you have a reference for where to grind.
The vinyl used here is Silhouette Flat White. The color doesn’t matter, but I found Silhouette’s adhesive to be strong enough for this application and the vinyl to be flexible enough to wrap around the steel well. Tough, non-stick vinyl is not worth messing with.
(Another related product guide: Enamel Pin Back Buying Guide)
3) Step 3: Prepare steel
Measure the bounding rectangle of the pin design, then mark and cut a piece of steel with a half-inch margin on all sides. Always remember to wear safety gear when handling metal dust! Remove burrs from rough edges with a file and clean thoroughly with isopropyl alcohol.
4) Step 4: Apply vinyl mask
If the design is one continuous piece, you can simply peel off the paper backing and apply directly without hassle. For more complex designs, especially those with floating components, it is best to transfer the mask using transfer tape.
Cut a piece of transfer tape slightly larger than the mask and roll it onto the vinyl to avoid wrinkling. Remove the paper backing from the vinyl and roll it onto the steel, making sure it’s roughly centered and has no bubbles or wrinkles. Remove the transfer tape and wrap the vinyl around the edges. Silhouette transfer tape can be used.
5) Step 5: Connect the wires to the pin blanks
Cut an old two-wire extension cable. Strip one inch of insulation from one end and one-quarter inch of insulation from the other end. Unfold the strand on the longer side and place it on the back of the dowel blank so that it makes good contact. Wrap it with another piece of vinyl, making sure it wraps around the edges. Use hot glue to seal the gaps around the wires.
6) Step 6: Prepare etching bath
Use a pan made of electrically insulating material (plastic is fine) and fill it with enough water to comfortably cover the pin blanks. Add one teaspoon of salt to each cup of water and allow to dissolve completely. Warm water will help dissolve the salt, but avoid using hot water as it will soften the adhesive on the vinyl mask, possibly causing it to peel away from the metal.
7) Step 7: Attach and submerge parts
Clip the wire from the pin blank to the positive terminal of the main (turned off!) power supply, and clip a large piece of scrap metal to the negative terminal. Immerse both pieces in the water, positioning them so that the pins are roughly evenly spaced from the cathode. This is to avoid “hot spots” forming if one part of the pin is closer to the cathode than other parts. Secure the two pieces to the plate, making sure the power supply clip does not slip into the etched groove.
(Another related product guide: Materials of Different Types Enamel Pins – A Complete Guide)
8) Step 8: Set it and (don’t) forget it
Turn on the power, set it to 20 volts, and let it run. The remaining run time depends on how much surface area is available for etching. It would take about 7 minutes to etch a single pin, but if I were to run 5 pins at a time on a blank I would leave it at 30 minutes. You can always turn off the power early to check the progress and then continue etching.
9) Step 9: Remove parts
After the time is up, turn off the power and release the parts. Wash off the pin blanks and remove the vinyl mask and wires. If you are doing multi-batch processing, the current ultra-coarse water can be reused several times and flushed down the toilet for disposal.
10) Step 10: Trim pins into shape
Once the design is etched into the steel, it is time to trim away any excess material. Save time by removing most of the material with a cut-off wheel before moving to a bench grinder. I used a set of vise clamps and stretched some hose over the jaws to hold the steel in place without damaging the pins. Nearly finished on a bench grinder and finishing the contour details with a needle file. With 220-grit aluminum oxide sandpaper, smooth the edges.
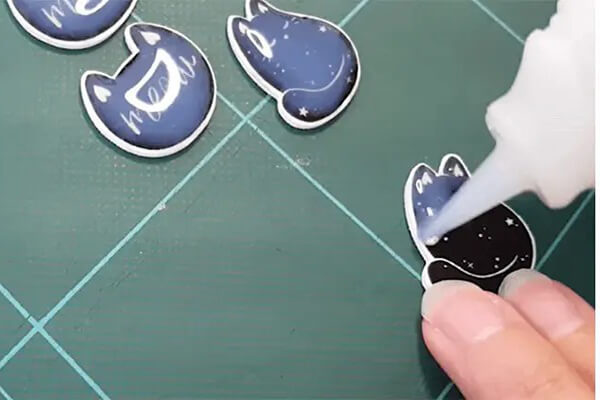
11) Step 11: Painting
Painting the dowels is the longest part of the process because it requires multiple coats to create a level surface. Apply enamel paint to the entire pin, avoiding air bubbles, and use thin coats of paint, leaving approximately 45 minutes between coats. Continue until the paint is thick enough to sit completely over the unetched edges of the pins. Because it uses so little paint, I like to put the enamel directly on the brush so I don’t have to pour anything onto the tray.
(Another related product guide: Enamel Pin Backing Cards:A Full Guide)
12) Step 12: Baking the enamel
Place the pins on some crumpled tinfoil and place in a cold oven. Heat to 350°F and bake 50 minutes. If the dowel has too much coating on it, it will need to bake longer. Place in oven to cool.
13) Step 13: Install pin backing
Sand the backs of the pins to remove any unwanted enamel and prepare the metal for welding. Do the same for the dowel backing. Place the dowel and dowel backing on a heat-resistant surface. Use a torch to heat the pins and pin the backing. Keep the heat concentrated and apply some rosin core solder. If the solder doesn’t wick itself away underneath, or the pin backing moves out of place, simply use a pair of pliers to hold the pin backing and reflow the solder with a soldering gun. If there is too much solder, file it down and sand away the filing marks.
14) Step 14: Polish the enamel
Wet sand the surface of the pin on a hard surface. I used 220-grit aluminum oxide sandpaper. Gand in an “8” pattern to avoid uneven grinding. Clean the pins and sandpaper intermittently to prevent enamel buildup on the sandpaper. Dry the sand glaze from the edges of the pins.
15) Step 15: Check the enamel
Not good! You will notice that when drawing this pin, sometimes the bubbles are not prevented from appearing very well. If this happens, you can easily apply more enamel, rebake (the dowel backing may come off during this step), sand it again, or leave it as is.
16) Step 16: Polishing
Use a polishing compound to make the pin surface shiny. Work on a hard, flat surface and use a piece of paper as a polishing “cloth.” I have found that using a regular cloth to polish the dowels can result in an uneven surface since the enamel is softer than steel. When the color changes to a deep black, apply a small amount of polish and move to a new location on the paper.
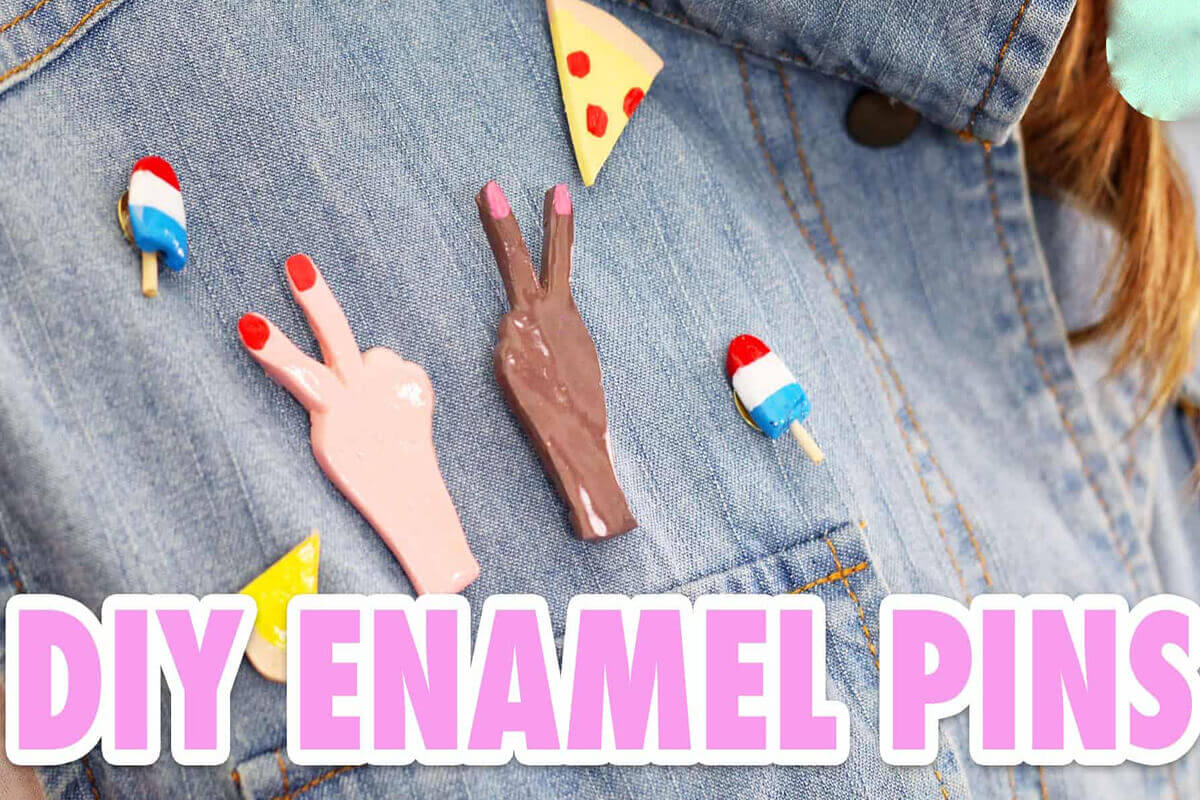
17) Step 17: Admire your work!
There you have it: a beautiful enamel pin! I love giving them to friends and surprising them with a custom design just for them. In terms of materials, they are very cheap to produce, so give them a try!
(Another related product guide: How To Clean and Maintain Enamel Pins)
3. FAQ about DIY enamel pins at home
Here are answers to frequently asked questions about making enamel pins at home.
1) What is the best way to bake enamel pins at home?
The ideal method is to bake 1 or 2 enamel pins at a time on parchment paper. What you need to be aware of is that the pins will experience some shrinkage and curling after baking. Therefore, baking too many pins can lead to a mess. To reduce the curl, take another piece of parchment, and place it on top of the pin. This will help them lose weight.
2) What should I do if bubbles appear inside the dried pins?
What you need to know is that you cannot pop the air bubbles inside a dry pin. You need to push them towards the edge to get rid of them. To do this, use a toothpick to gently push the air bubbles to the sides. Avoid using sharp needles as this may damage the surface of the needle.